
Company profile: name, logo and contact details
Your company profile is the first thing to set up after logging in, because it appears in many places: the system header, the login page, printed invoices and receipts, and the customer portal. This article covers the Company Information tab of the Settings page.
Opening the page
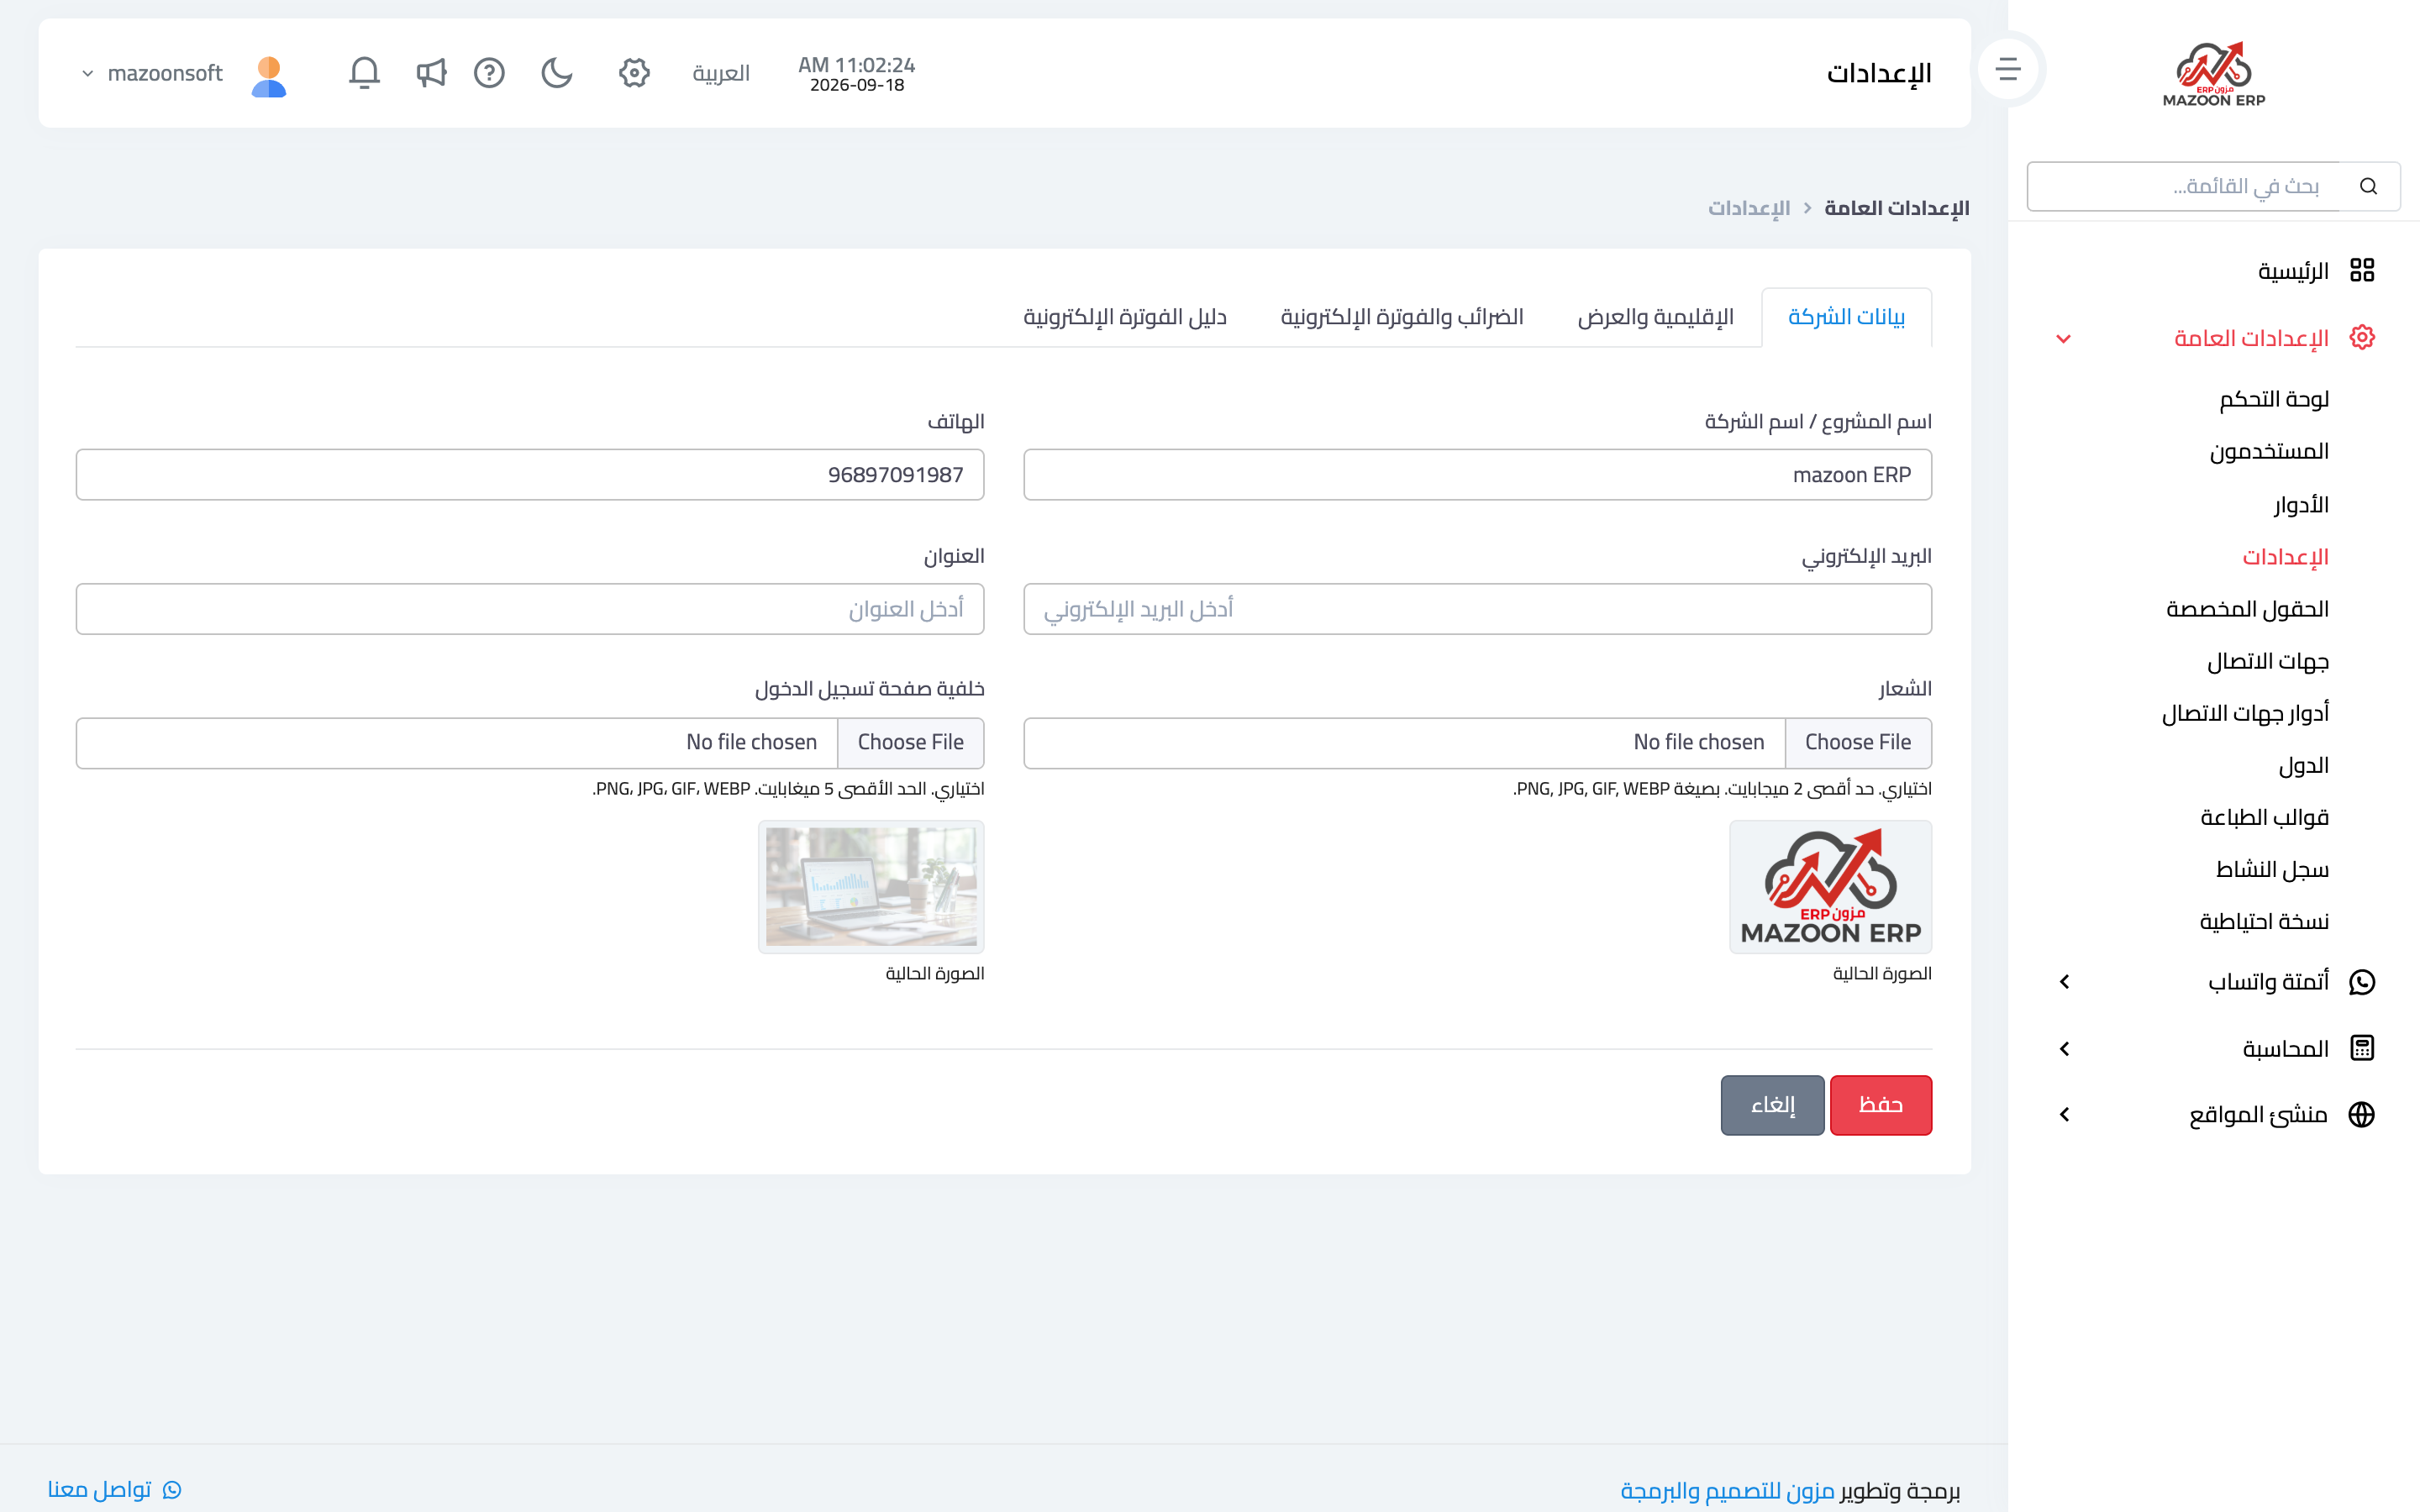
From General Settings, open the Settings card. The page has four tabs; the first is Company Information, as in image 1. The page requires the settings-edit permission, so ask your system administrator if you cannot see it.
The fields
- Project / Company name — the name shown in the system header and on printed documents. Write it exactly as it should read on an invoice.
- Phone and Email — your business contact details; both appear on printed documents.
- Address — the address as it should appear on invoices.
- Logo — optional image, up to 2 MB, in PNG, JPG, GIF or WEBP. It appears in the system header, on the login page and on printed documents.
- Login page background — optional image, up to 5 MB. Everyone who opens your login link sees it.
Under each image field, the current image is shown if one was uploaded before; uploading a new file replaces it.
Saving
Press Save at the bottom. All four tabs belong to a single form, so one save covers whatever you changed in any of them.
Practical tips
- Use a transparent-background PNG so the logo looks clean on the white header and in print.
- Write the phone number in a form a customer can dial straight from the invoice.
- After changing the name or logo, print a test invoice to check the result.
Screenshots
Try what you just read on your own data
Open a free 7-day trial — no credit card, with your own company link in minutes.