
How do I add a new branch and a custom field?
Two general settings that come up often: opening a new branch, and adding a field that the standard form does not have.
Adding a branch
- Open General settings → Branches — Figure 1 — then Add branch.
- Enter the code (three letters that identify it), the name, the city, and the phone, then Save.
- Then open Users and tie the branch’s staff to it, so they see only its data.
- If the branch holds stock, create a warehouse for it on the warehouses screen; if it has a till, add a cash account for it.
After that every report can be filtered by branch, and the branch report shows a comparison between them.
Adding a custom field
If you need a field the form does not have — a contract number, an inspection date, an agent’s name — no programming change is required:
- Open General settings → Custom fields — Figure 2 — then Add.
- Choose the entity — Figure 3 — the screen the field will appear on (contact, employee, item, and so on).
- Set the field type: text, number, date, select list, checkbox. With a select list, enter its options.
- Set whether it is required, then Save. The field appears immediately on that entity’s form.
Notes
- Do not delete a branch that has documents; deactivate it, so its old reports stay intact.
- Do not make a custom field required until you have filled it in the existing records; otherwise editing any old record becomes impossible.
- Keep custom fields to a minimum; every extra field is time wasted on every entry.
Screenshots
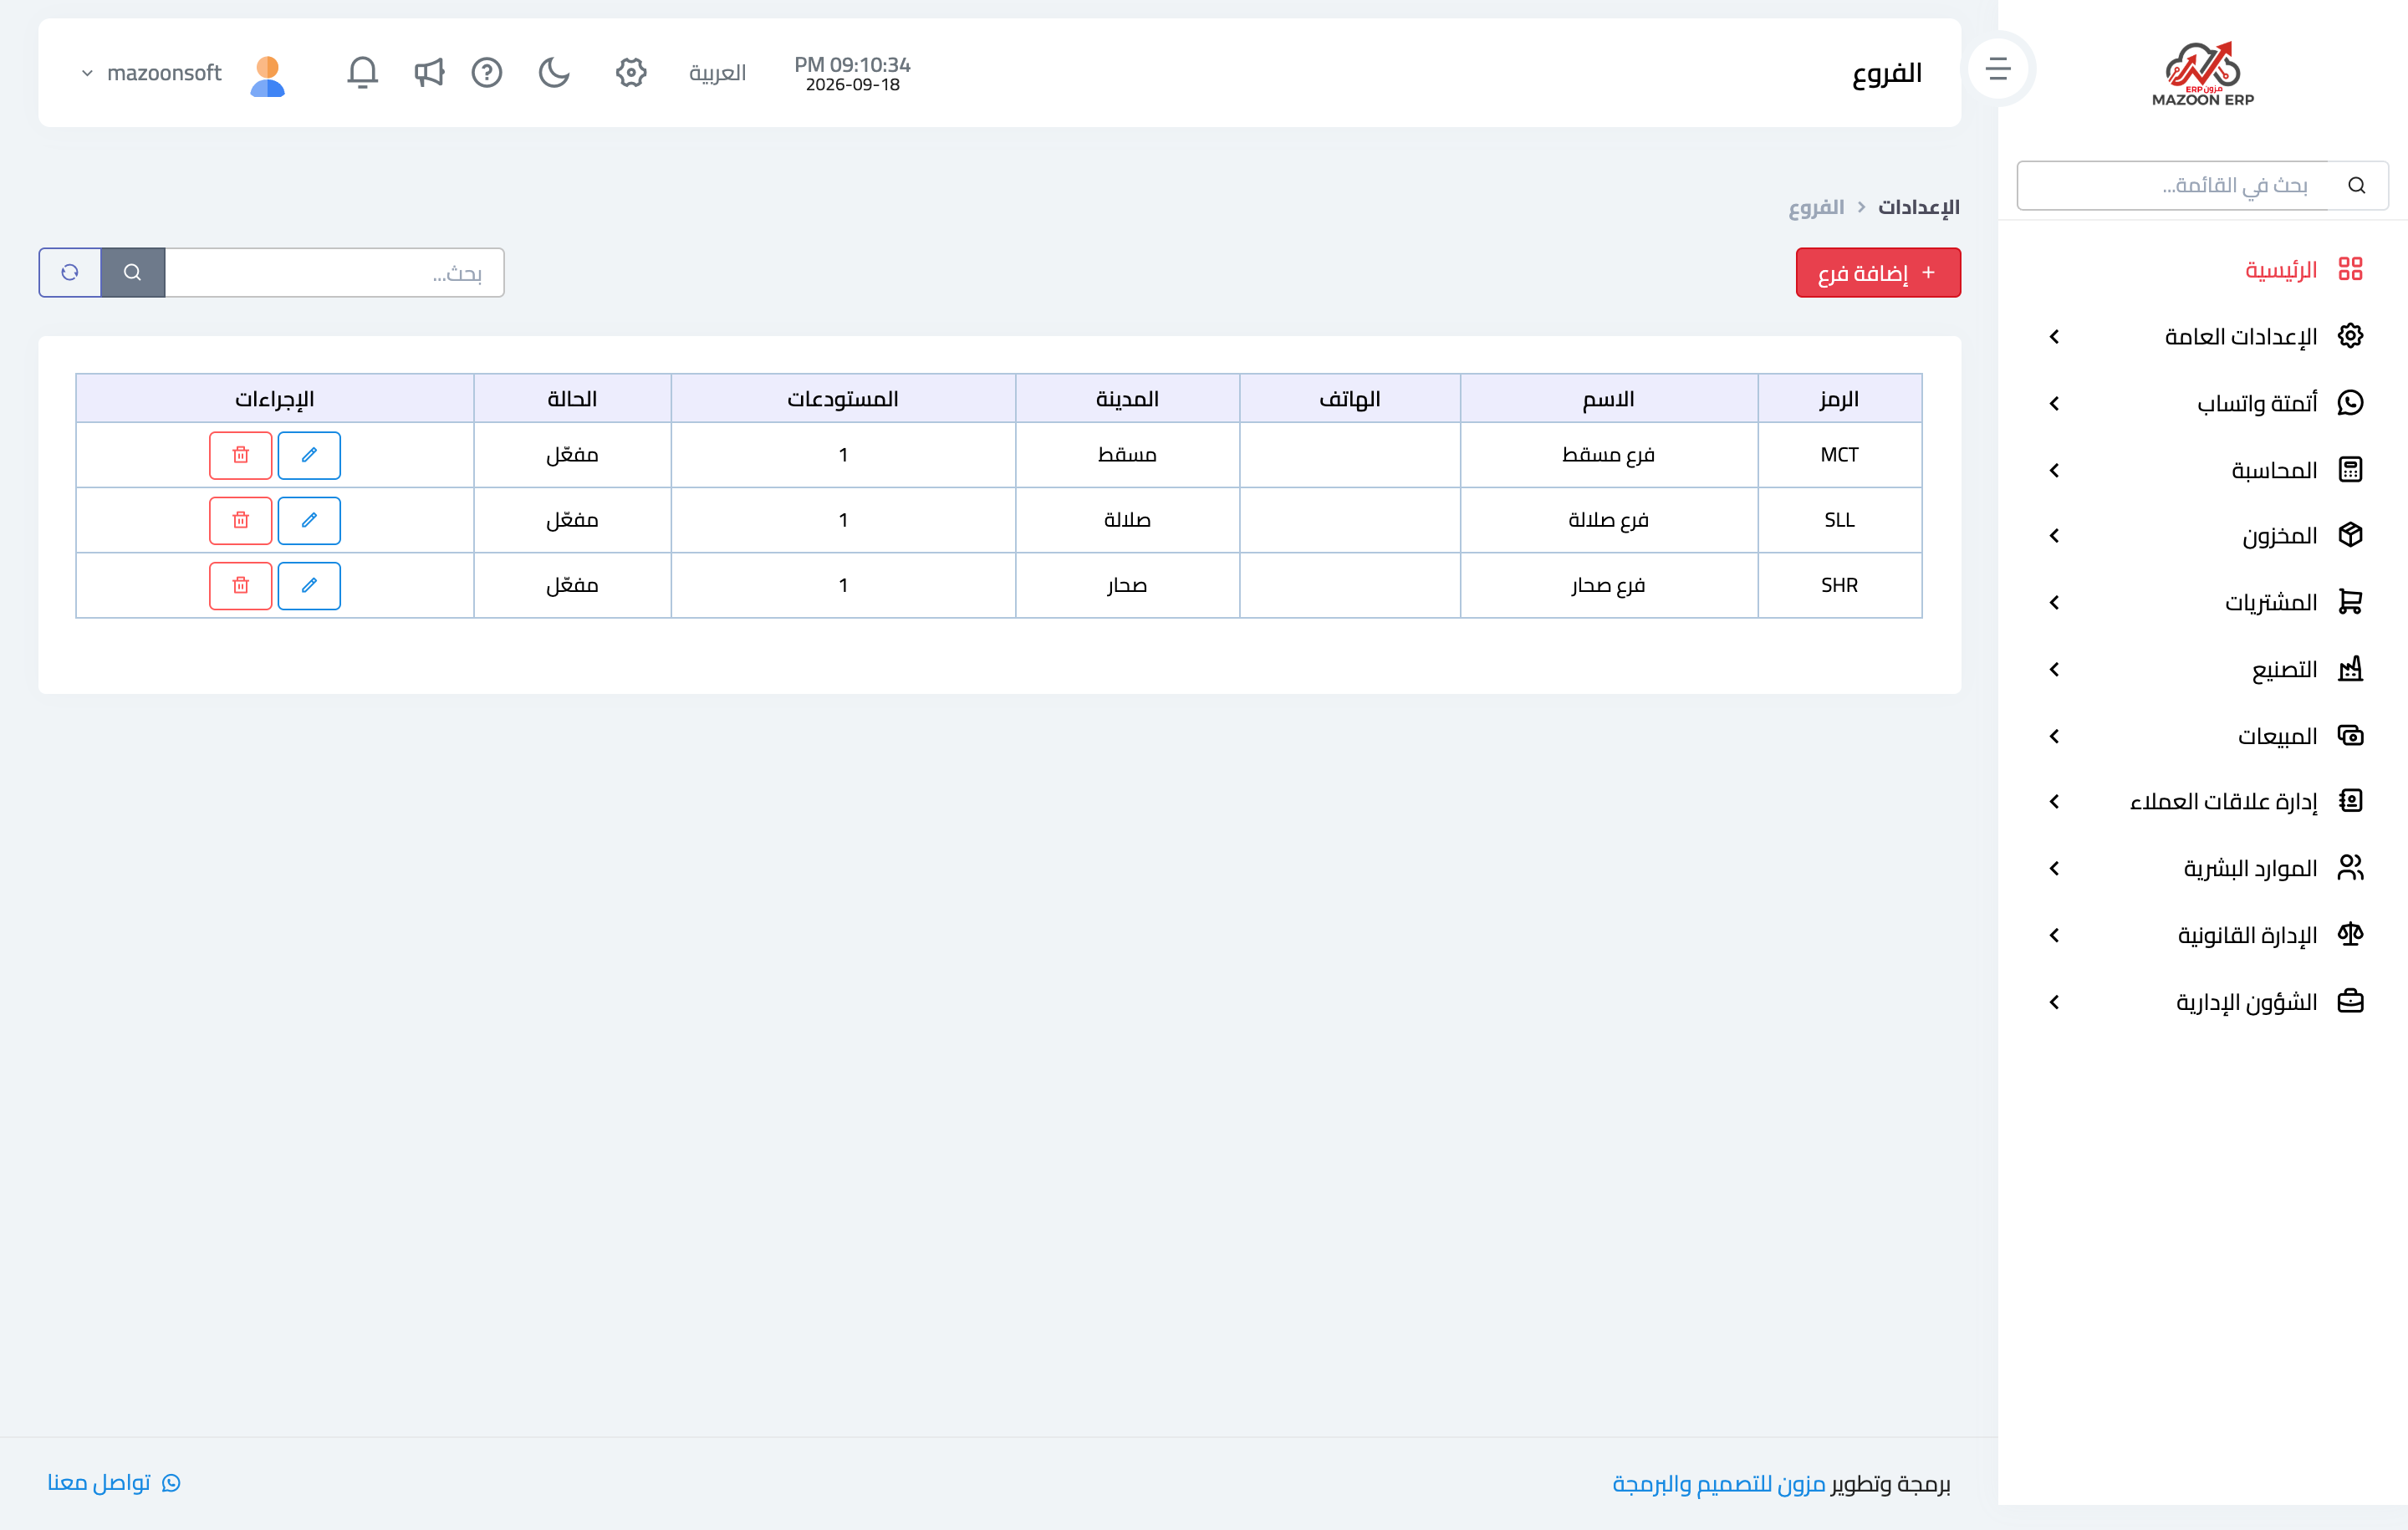
Figure 1
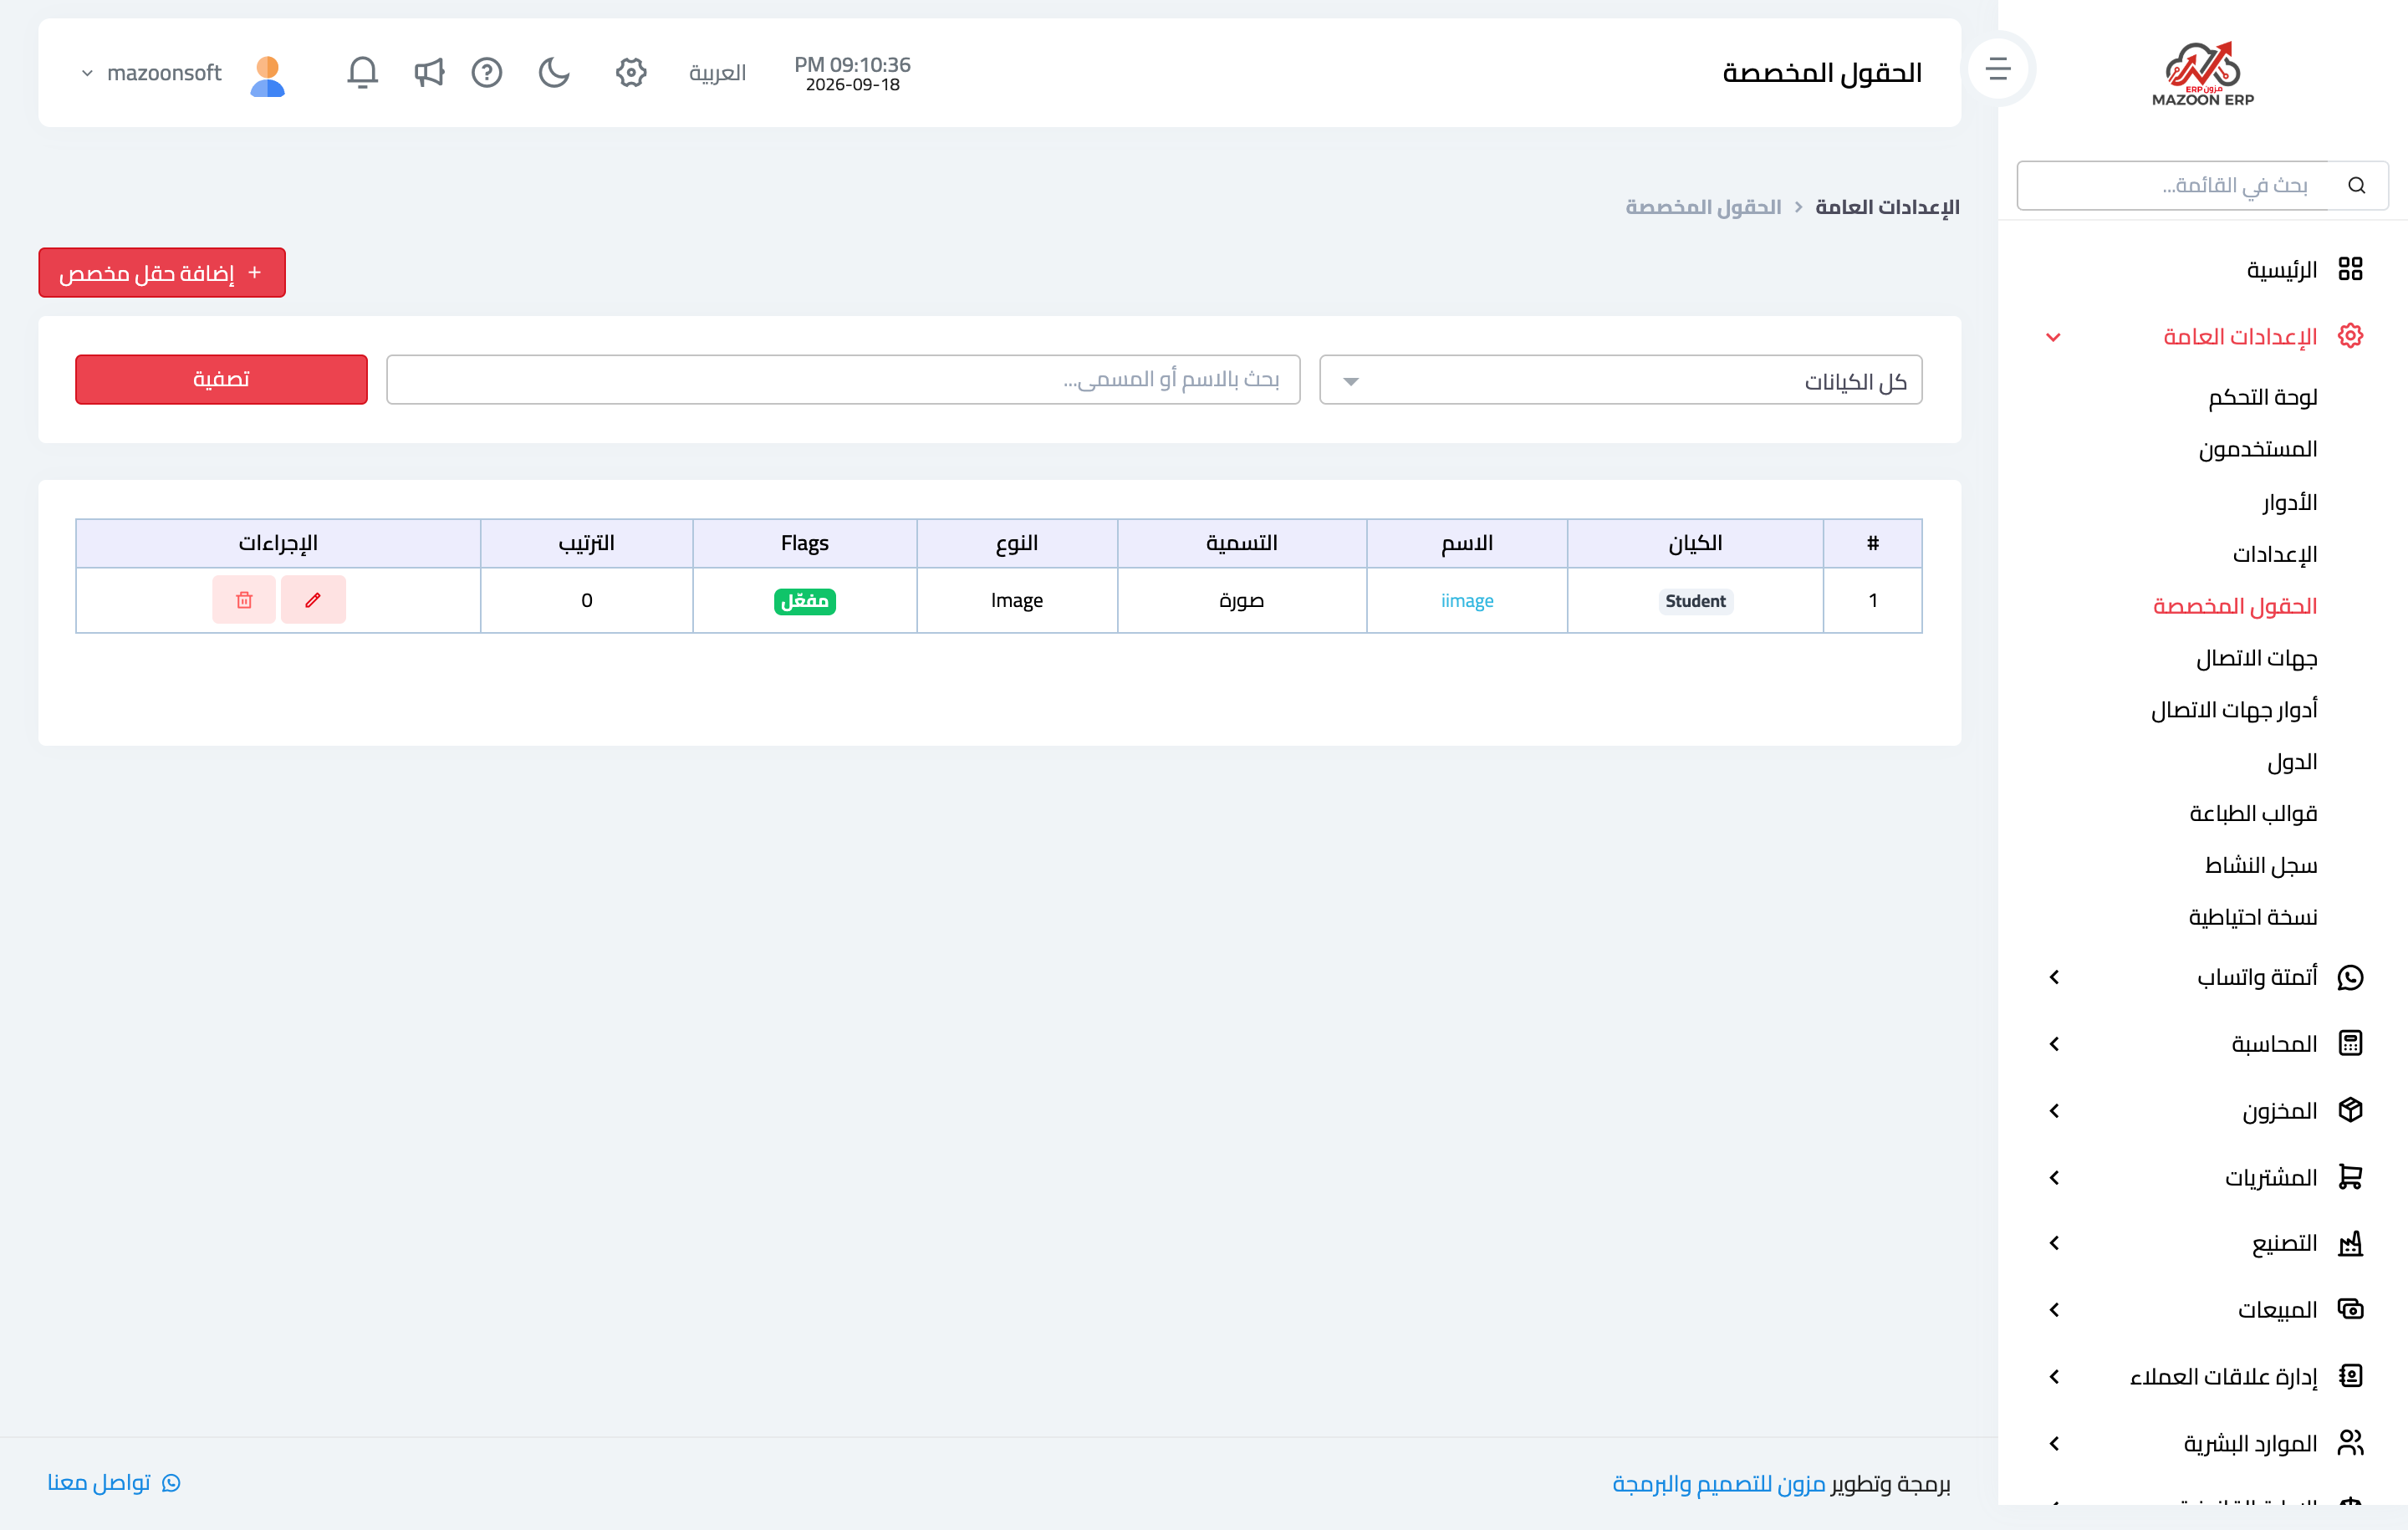
Figure 2
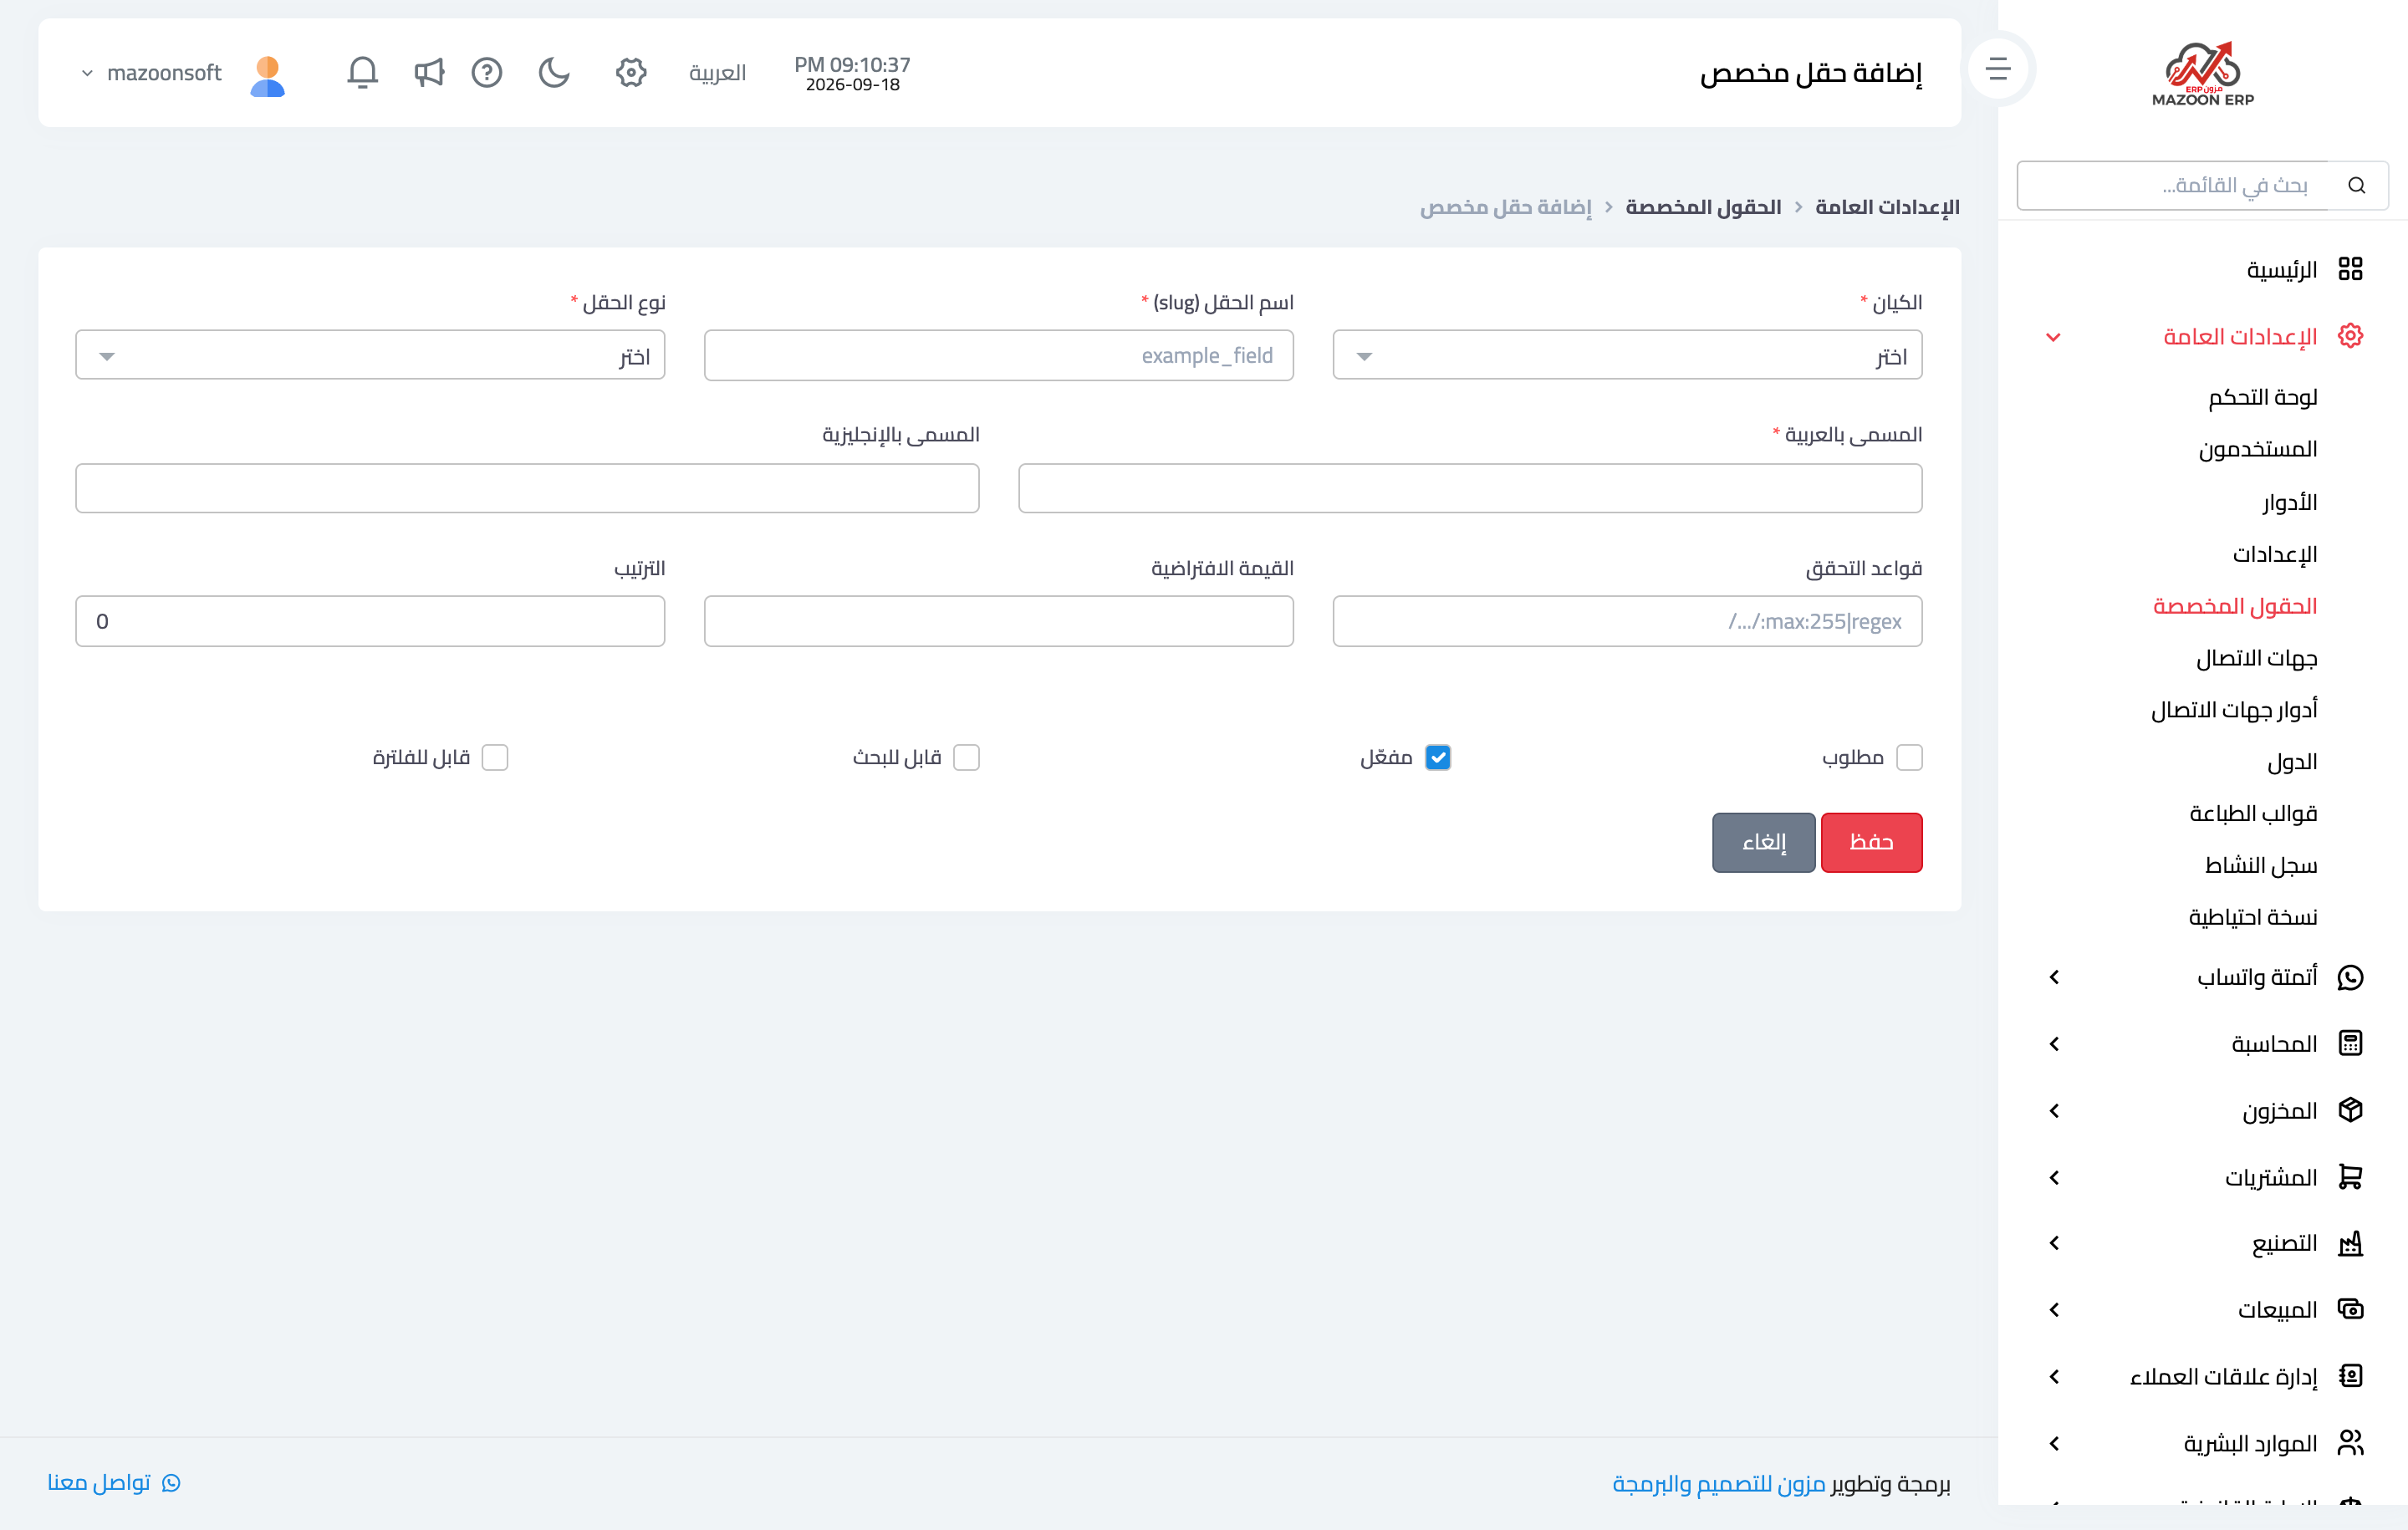
Figure 3
Try what you just read on your own data
Open a free 7-day trial — no credit card, with your own company link in minutes.