
How do I attach vehicle condition photos to a job card?
Most workshop disputes are about a scratch nobody can date. A photo taken at handover ends the argument before it starts.
Steps
- Open the job card from Workshop → Job cards, then go to the Photos tab — Figure 1.
- Press Add photo and choose the file.
- Set the type: entry, damage, exit or other.
- Write a short note explaining what the photo shows, then Upload.
- To remove one, press the delete button under the photo and confirm.
Alongside it: the damage diagram
Besides photos, the customer complaint / requested works tab — Figure 2 — lets you mark damage on the vehicle body diagram by clicking where it is. The two together — a photo and a mark on the diagram — are stronger than either alone.
Notes
- Photograph at handover every time, even when the car looks clean; it costs one minute and buys full cover.
- Photograph at delivery too, with type “exit”; that is what proves the vehicle left intact.
- The note under the photo is what makes it legible a month later; an undescribed photo proves nothing.
- Photograph the failed part once removed; it is the most convincing thing you can show a customer who thinks the bill is high.
Screenshots
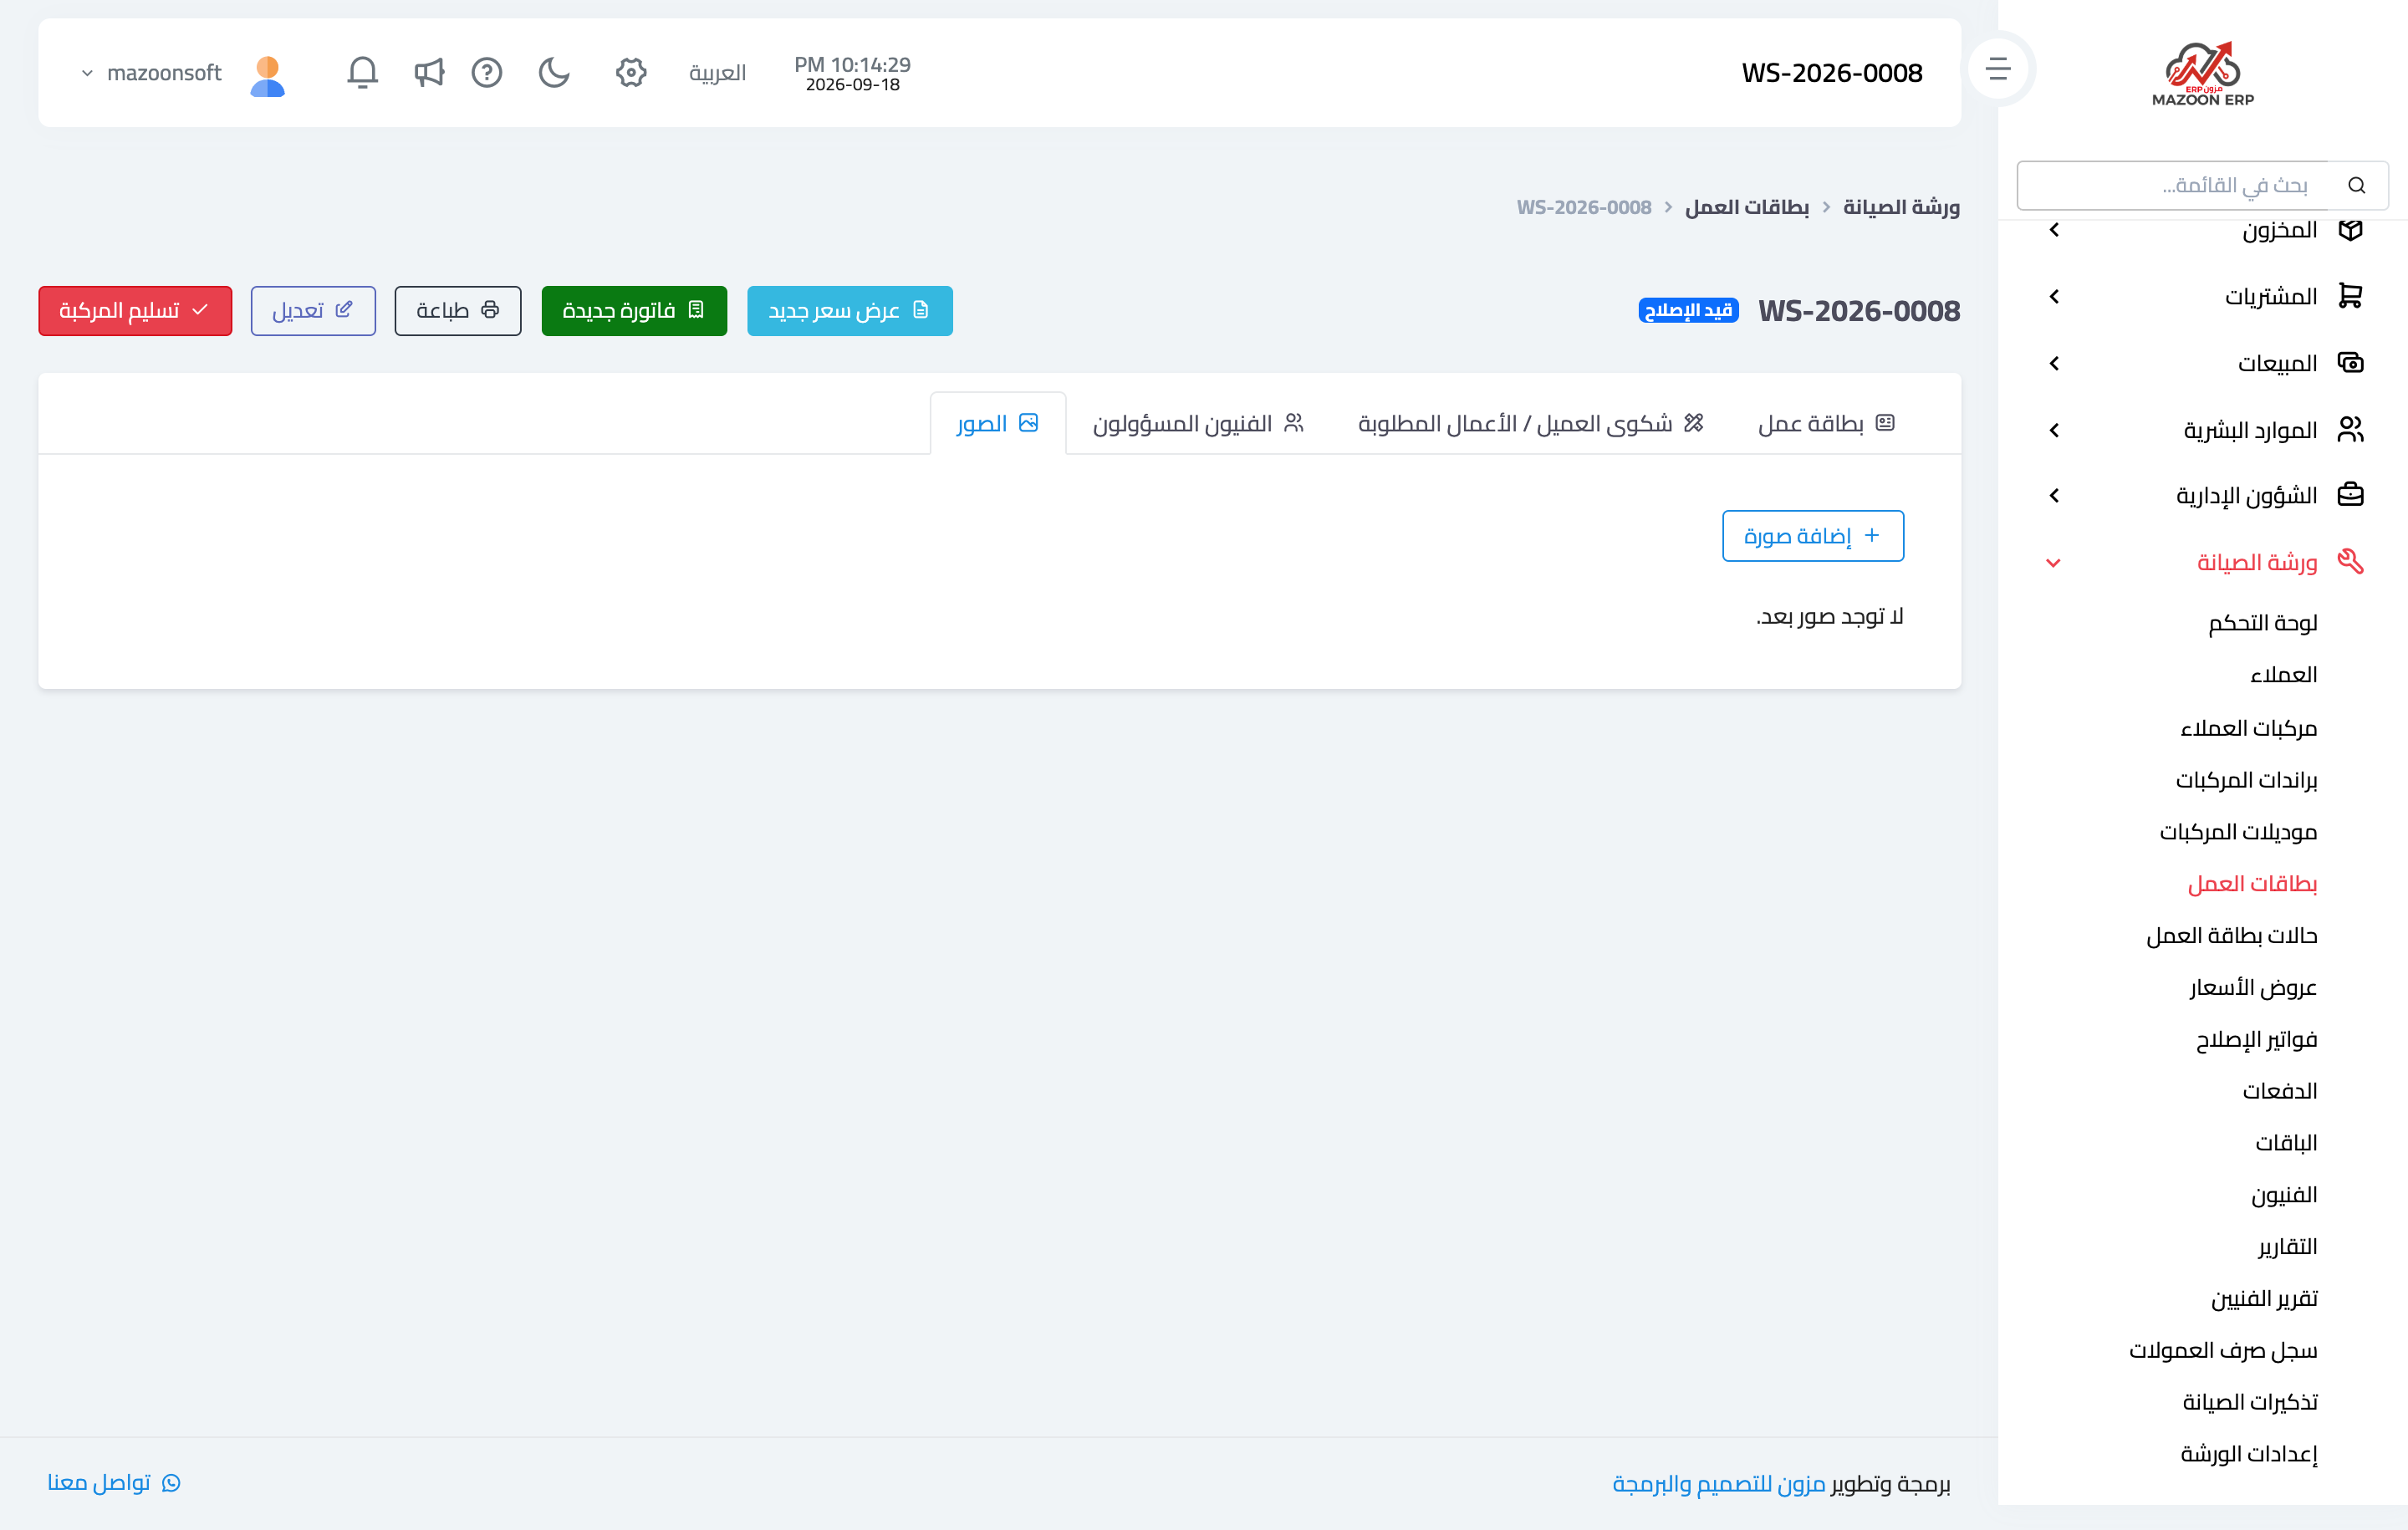
Figure 1
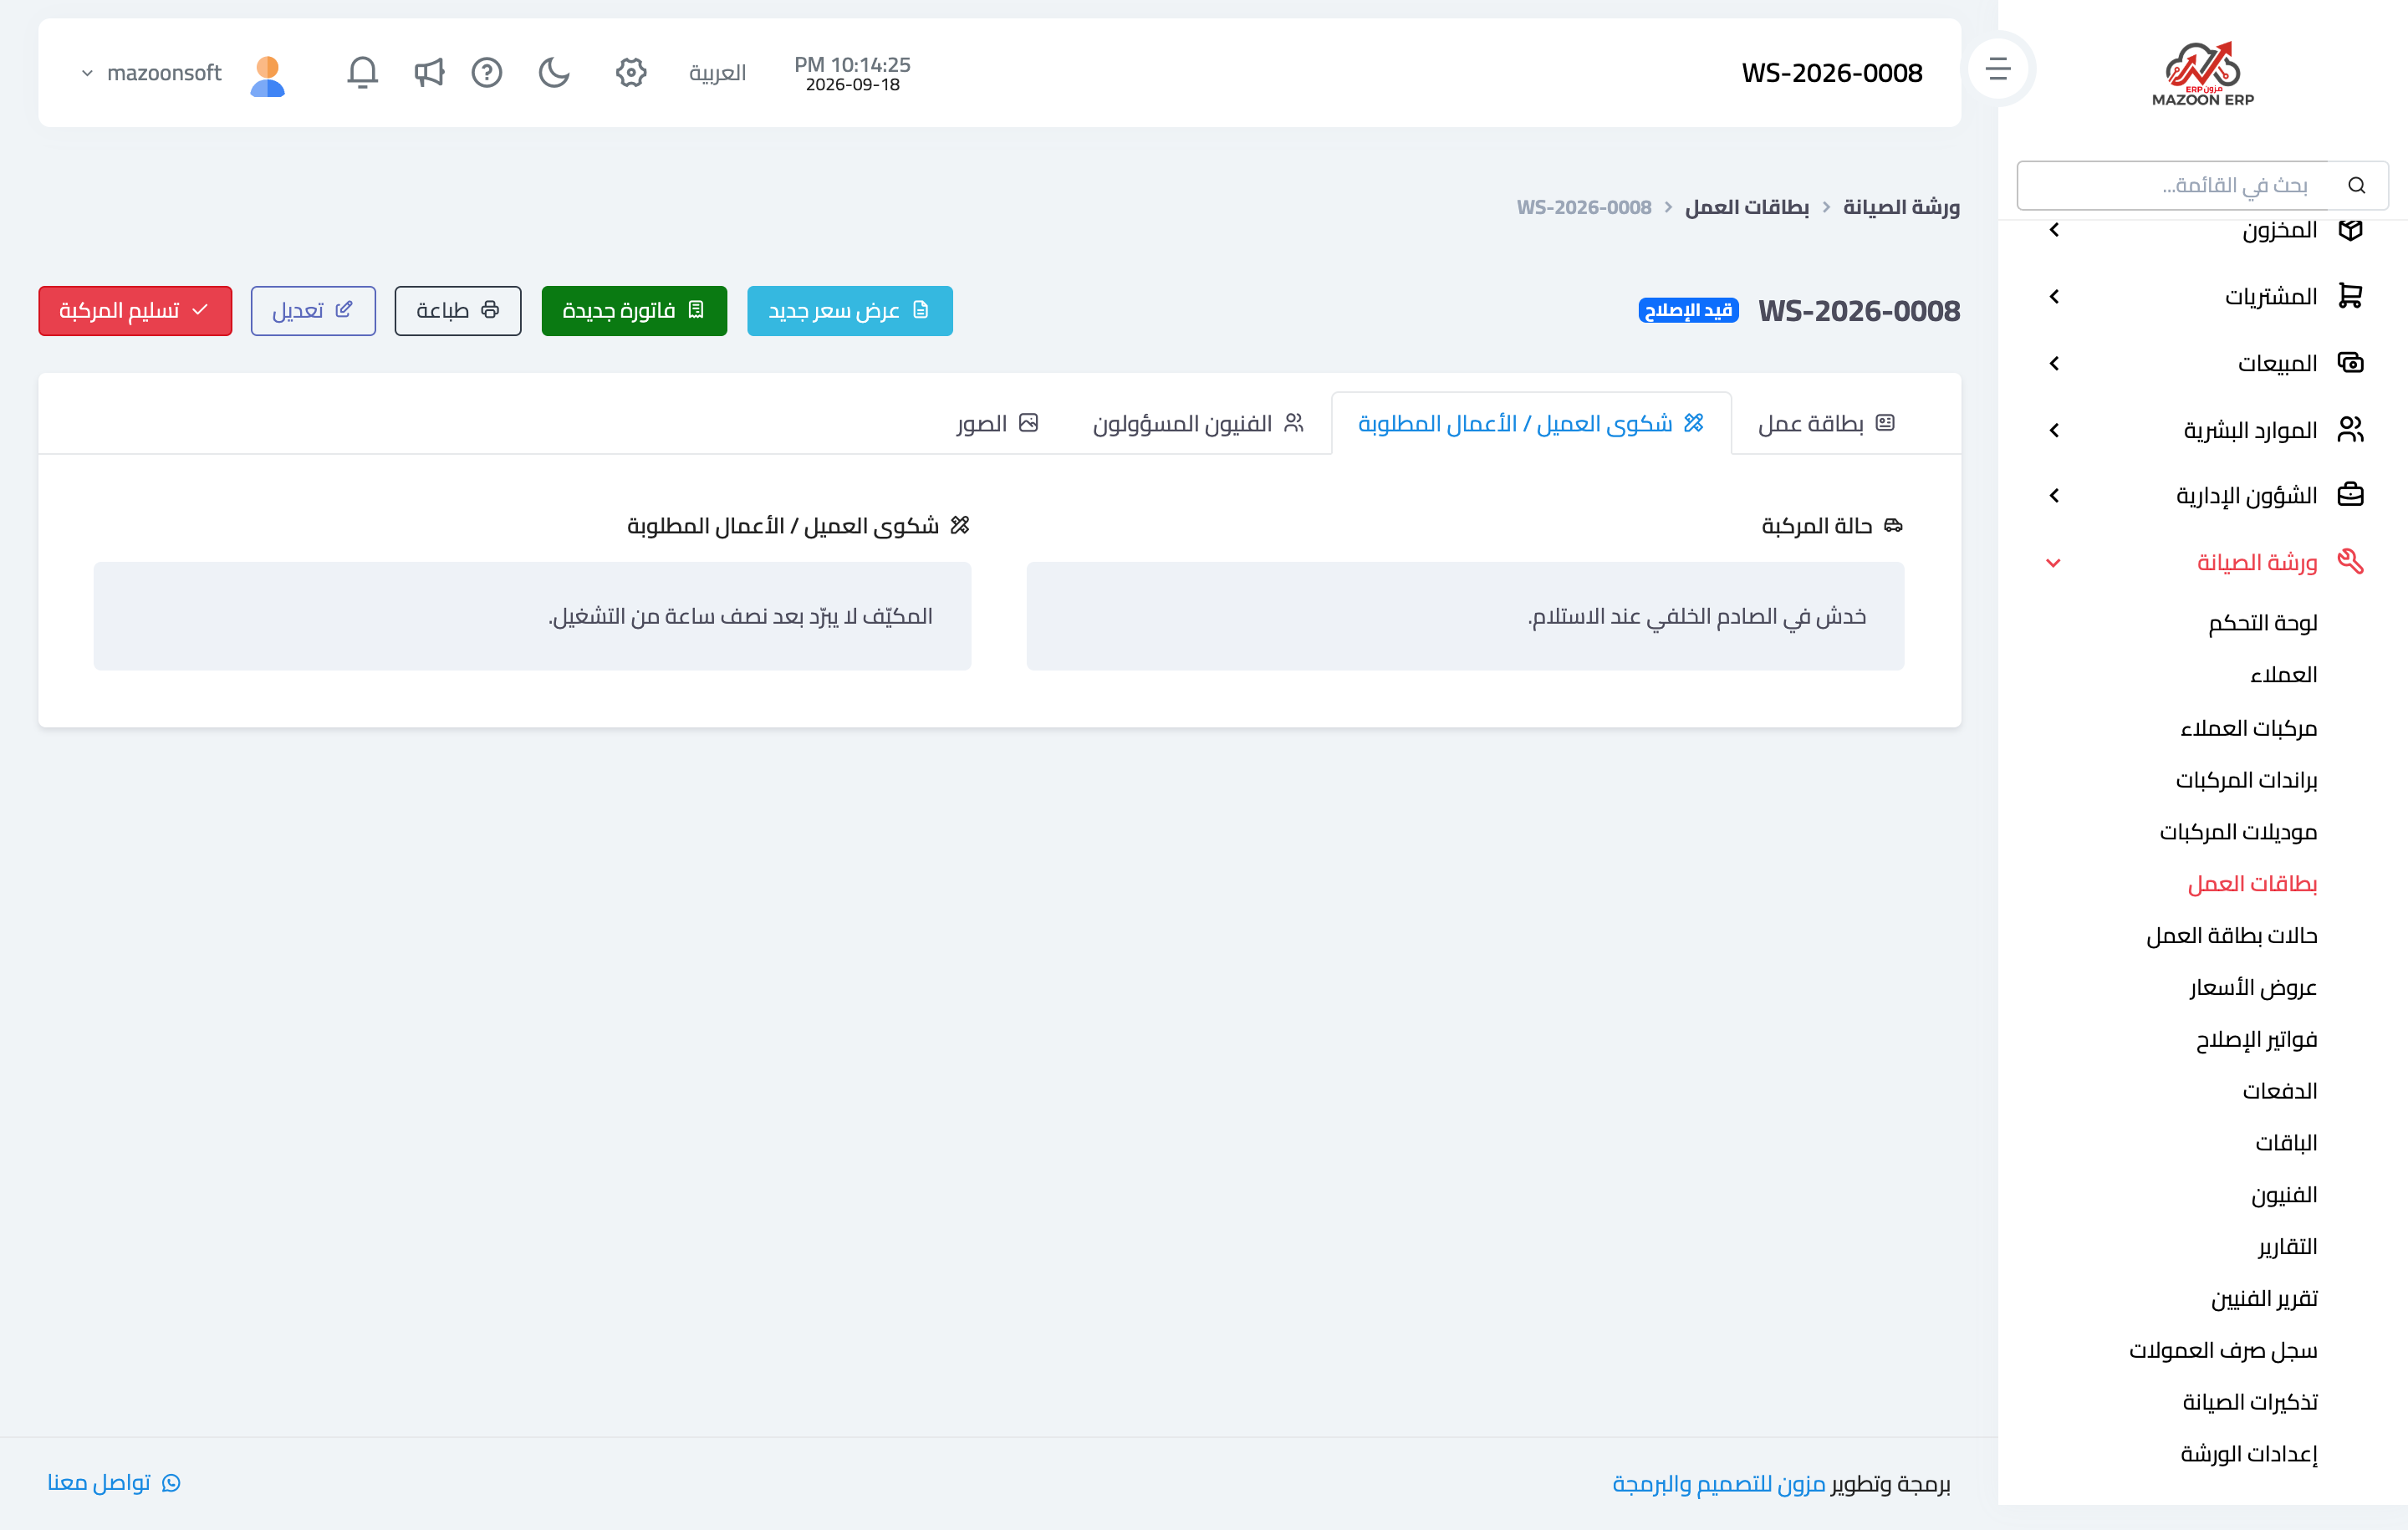
Figure 2
Try what you just read on your own data
Open a free 7-day trial — no credit card, with your own company link in minutes.