
Where do I start on day one? A setup checklist
The system in front of you is empty, and the first question is always: where do I start? The order below makes sure you never enter your data twice or have to undo what you built.
Steps
- Organisation details — image 1: from General Settings → Settings enter the name, address, phone and e-mail and upload the logo. These appear on every document you print.
- Regional settings: currency, decimal places, timezone and default country. Set them now; changing them after thousands of lines have been entered is painful.
- Tax: the tax number and rate, then e-invoicing if it is required in your country.
- Branches — image 2: add your branches if you work with more than one.
- Roles: review the ready-made roles or create one that suits each job you have, before you open staff accounts.
- Users — image 3: open an account for each employee and assign their role and branch.
- Modules: review Module Management and enable only what you need; a shorter menu is a faster one.
- Contacts: enter your main customers and suppliers, or add them one by one with each first transaction.
- Print template: set the header and footer once so every document comes out with one identity.
- Open the module that matches your business and follow its guide on this site step by step.
Notes
- The order is deliberate: settings, then roles, then users. Anyone who opens the accounts first ends up re-configuring permissions employee by employee.
- Do not enter opening balances or old invoices before the currency and decimal places are set.
- You do not have to finish everything in one day; do the first six steps, then start real work and complete the rest as you go.
- If you get stuck, the help & documentation icon in the top bar opens the guides for the modules enabled for you.
Screenshots
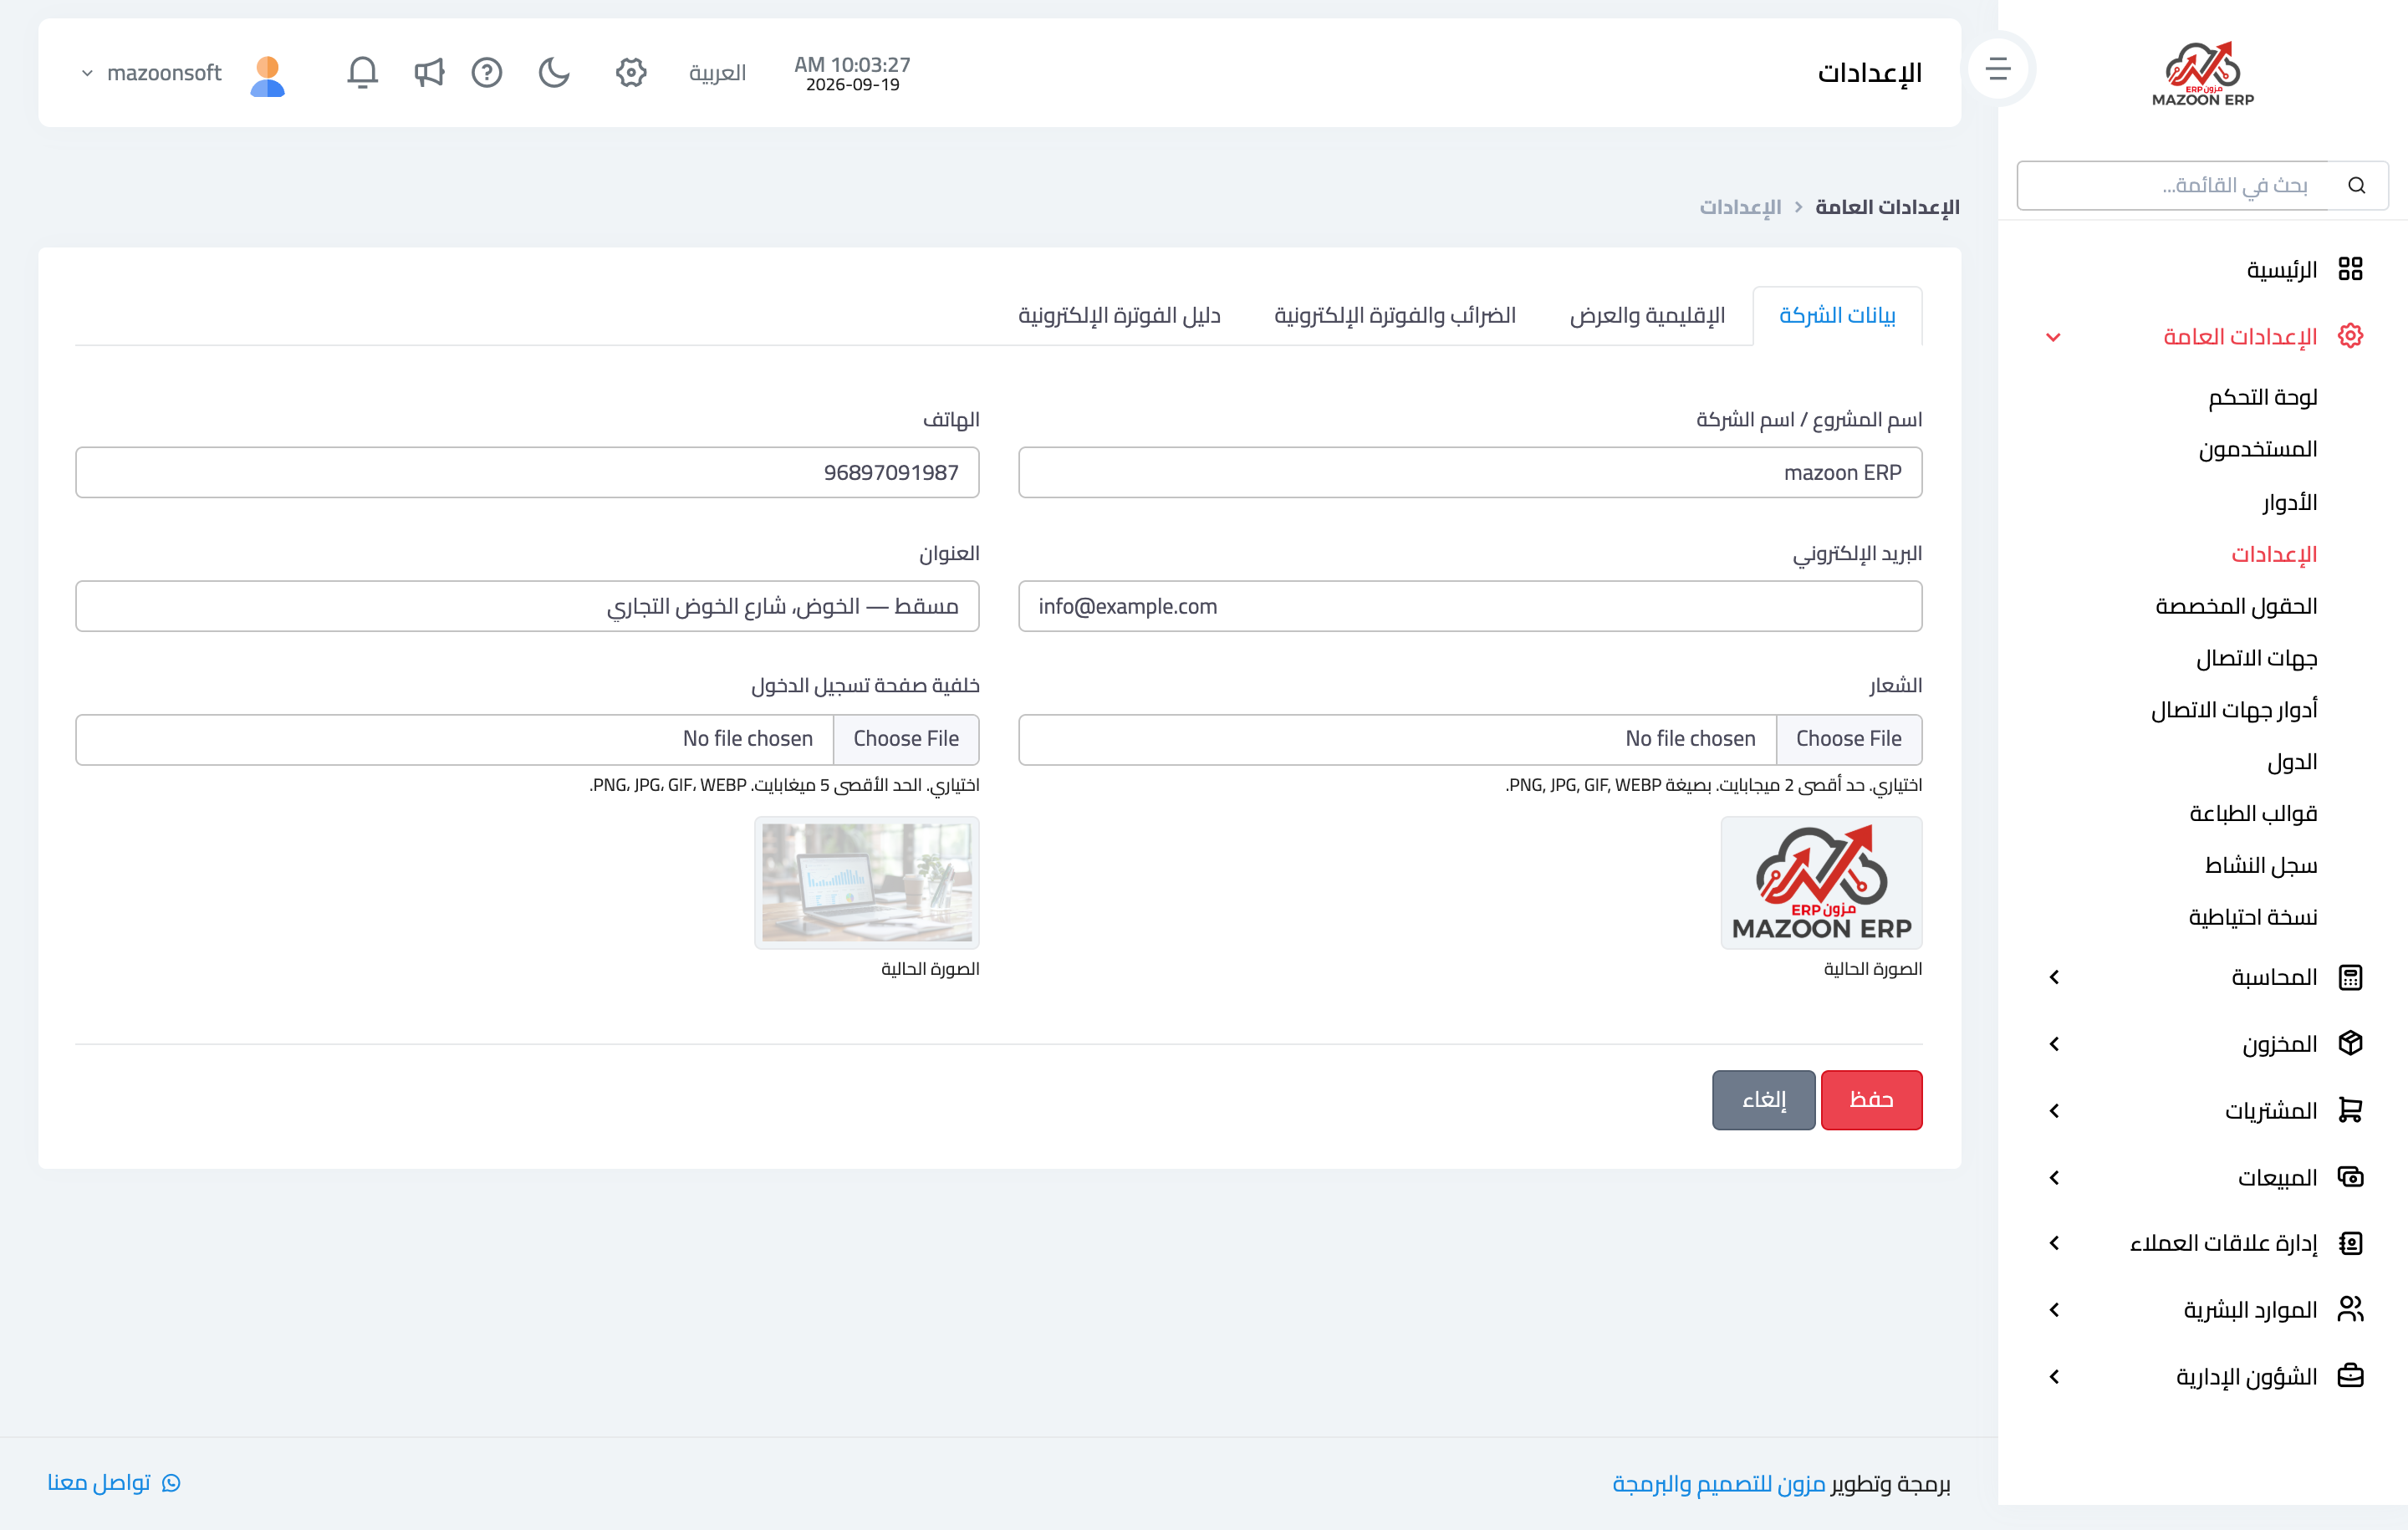
Figure 1
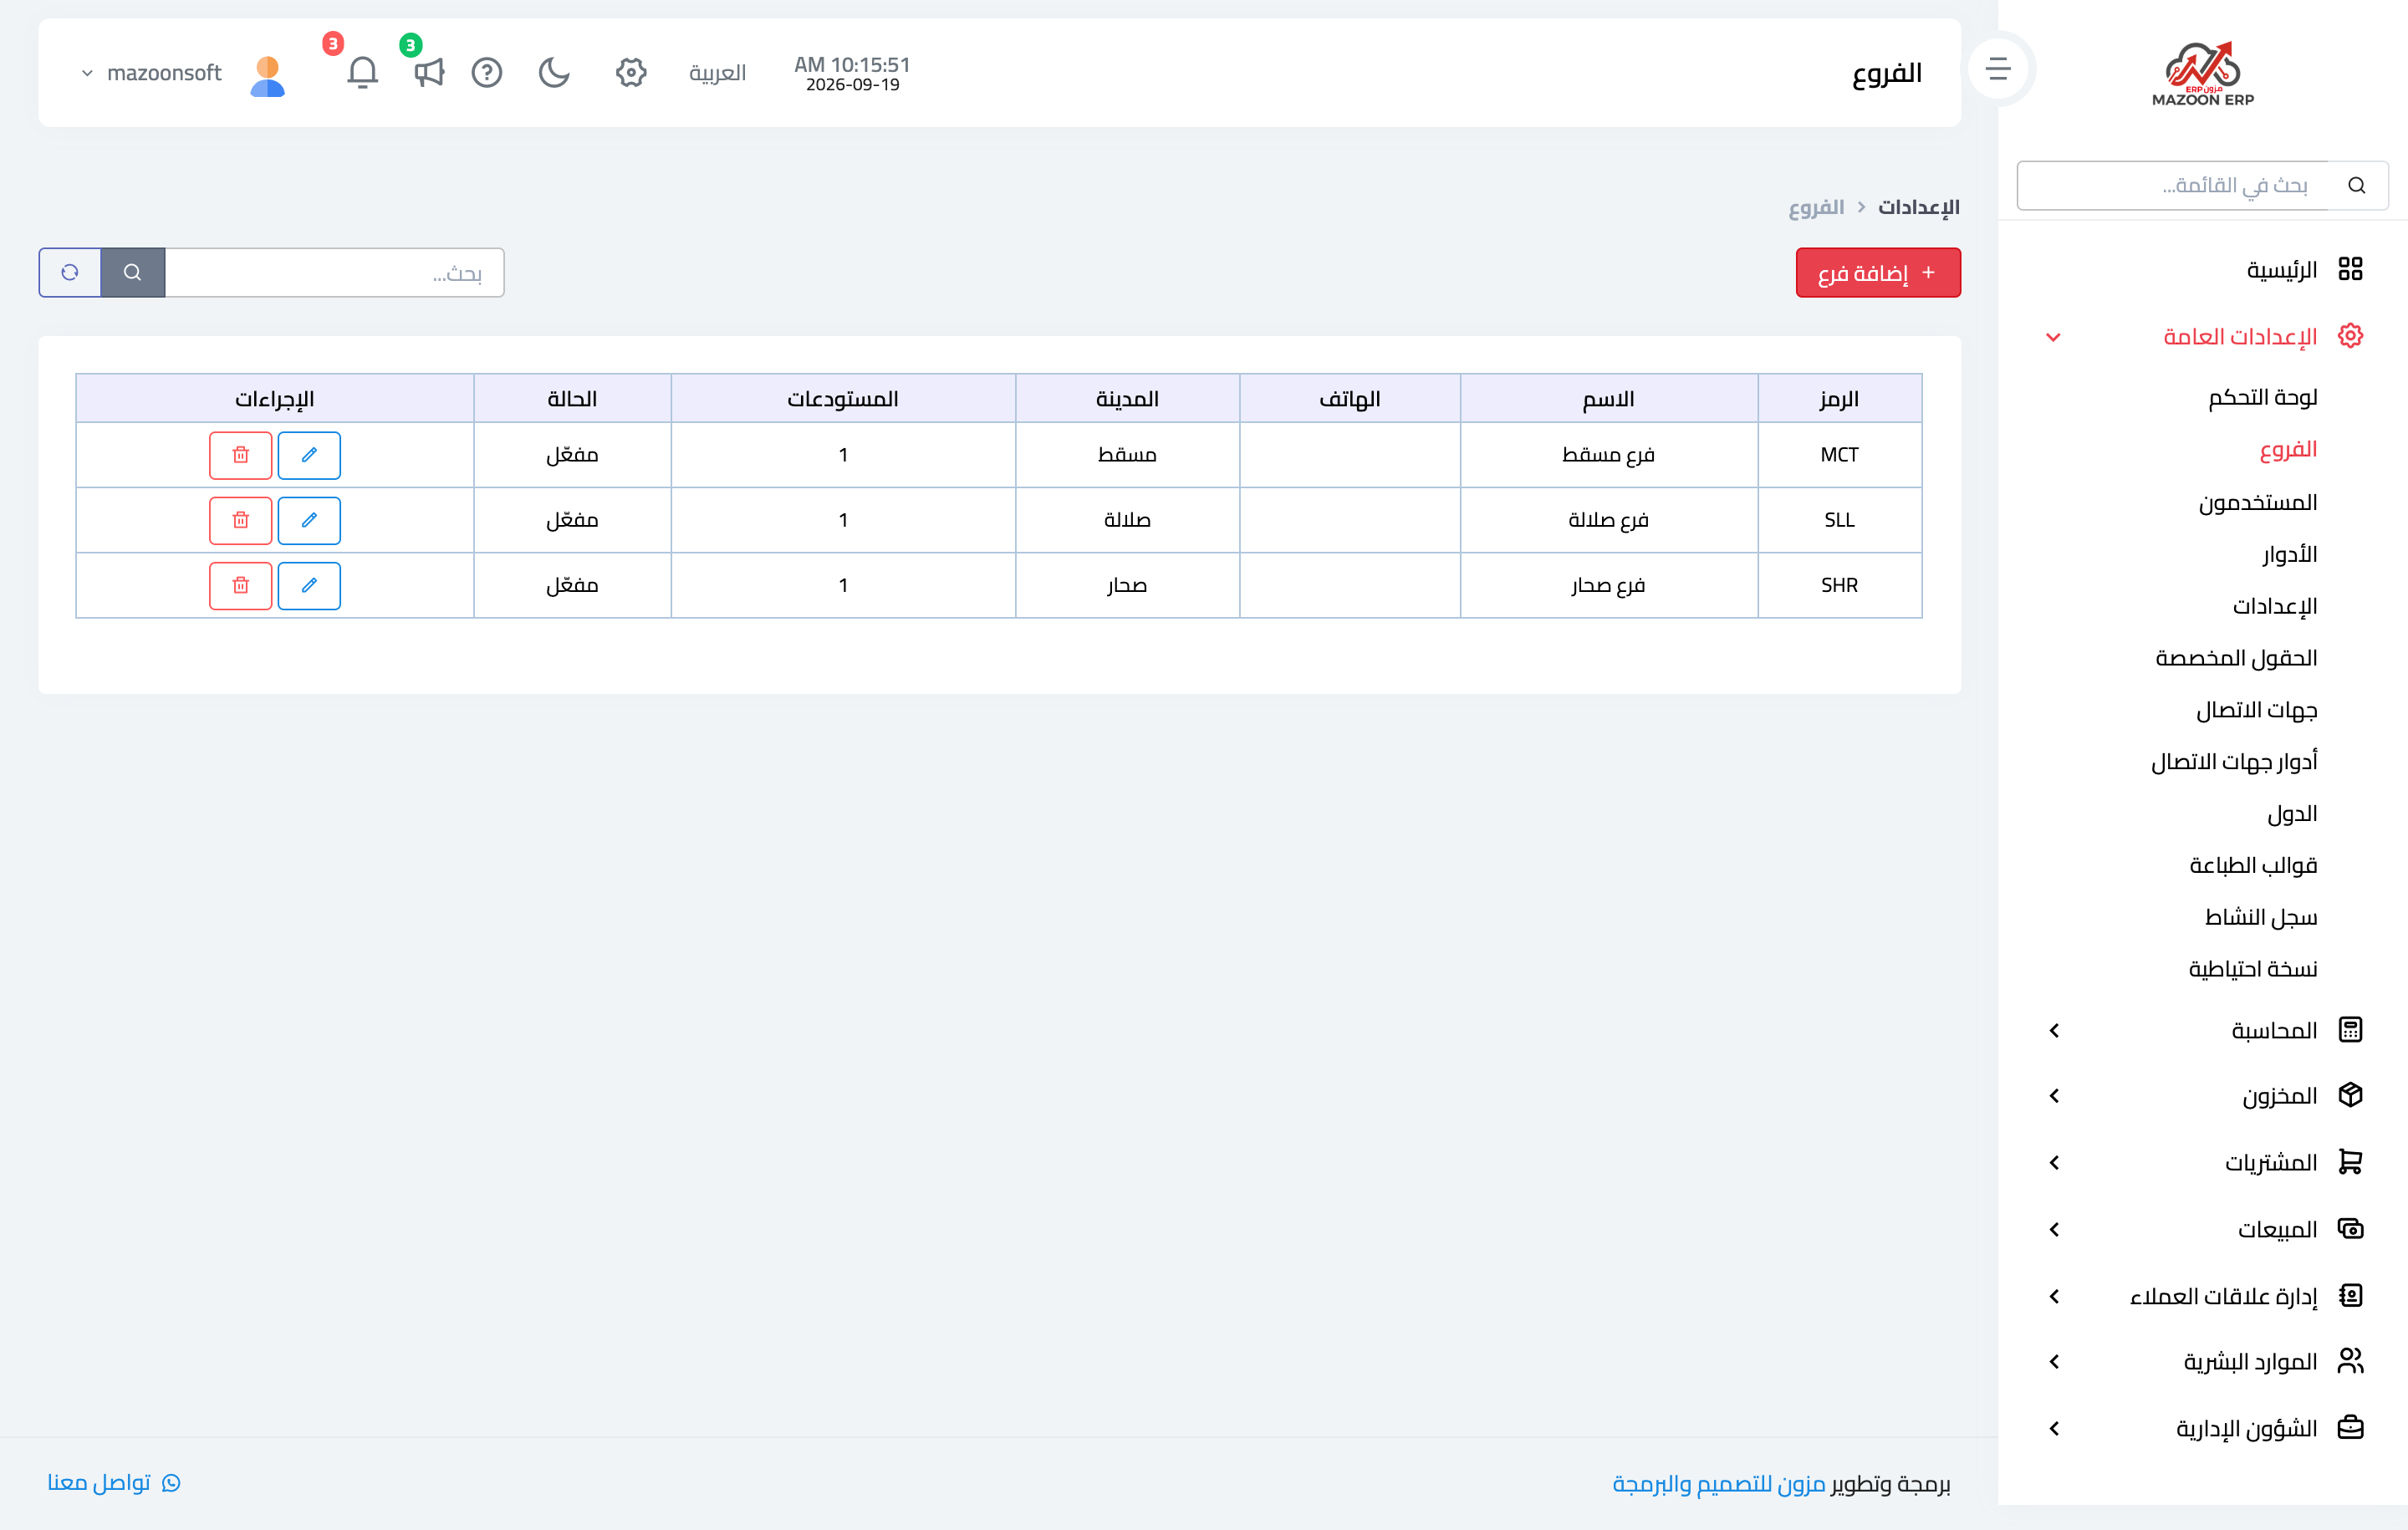
Figure 2
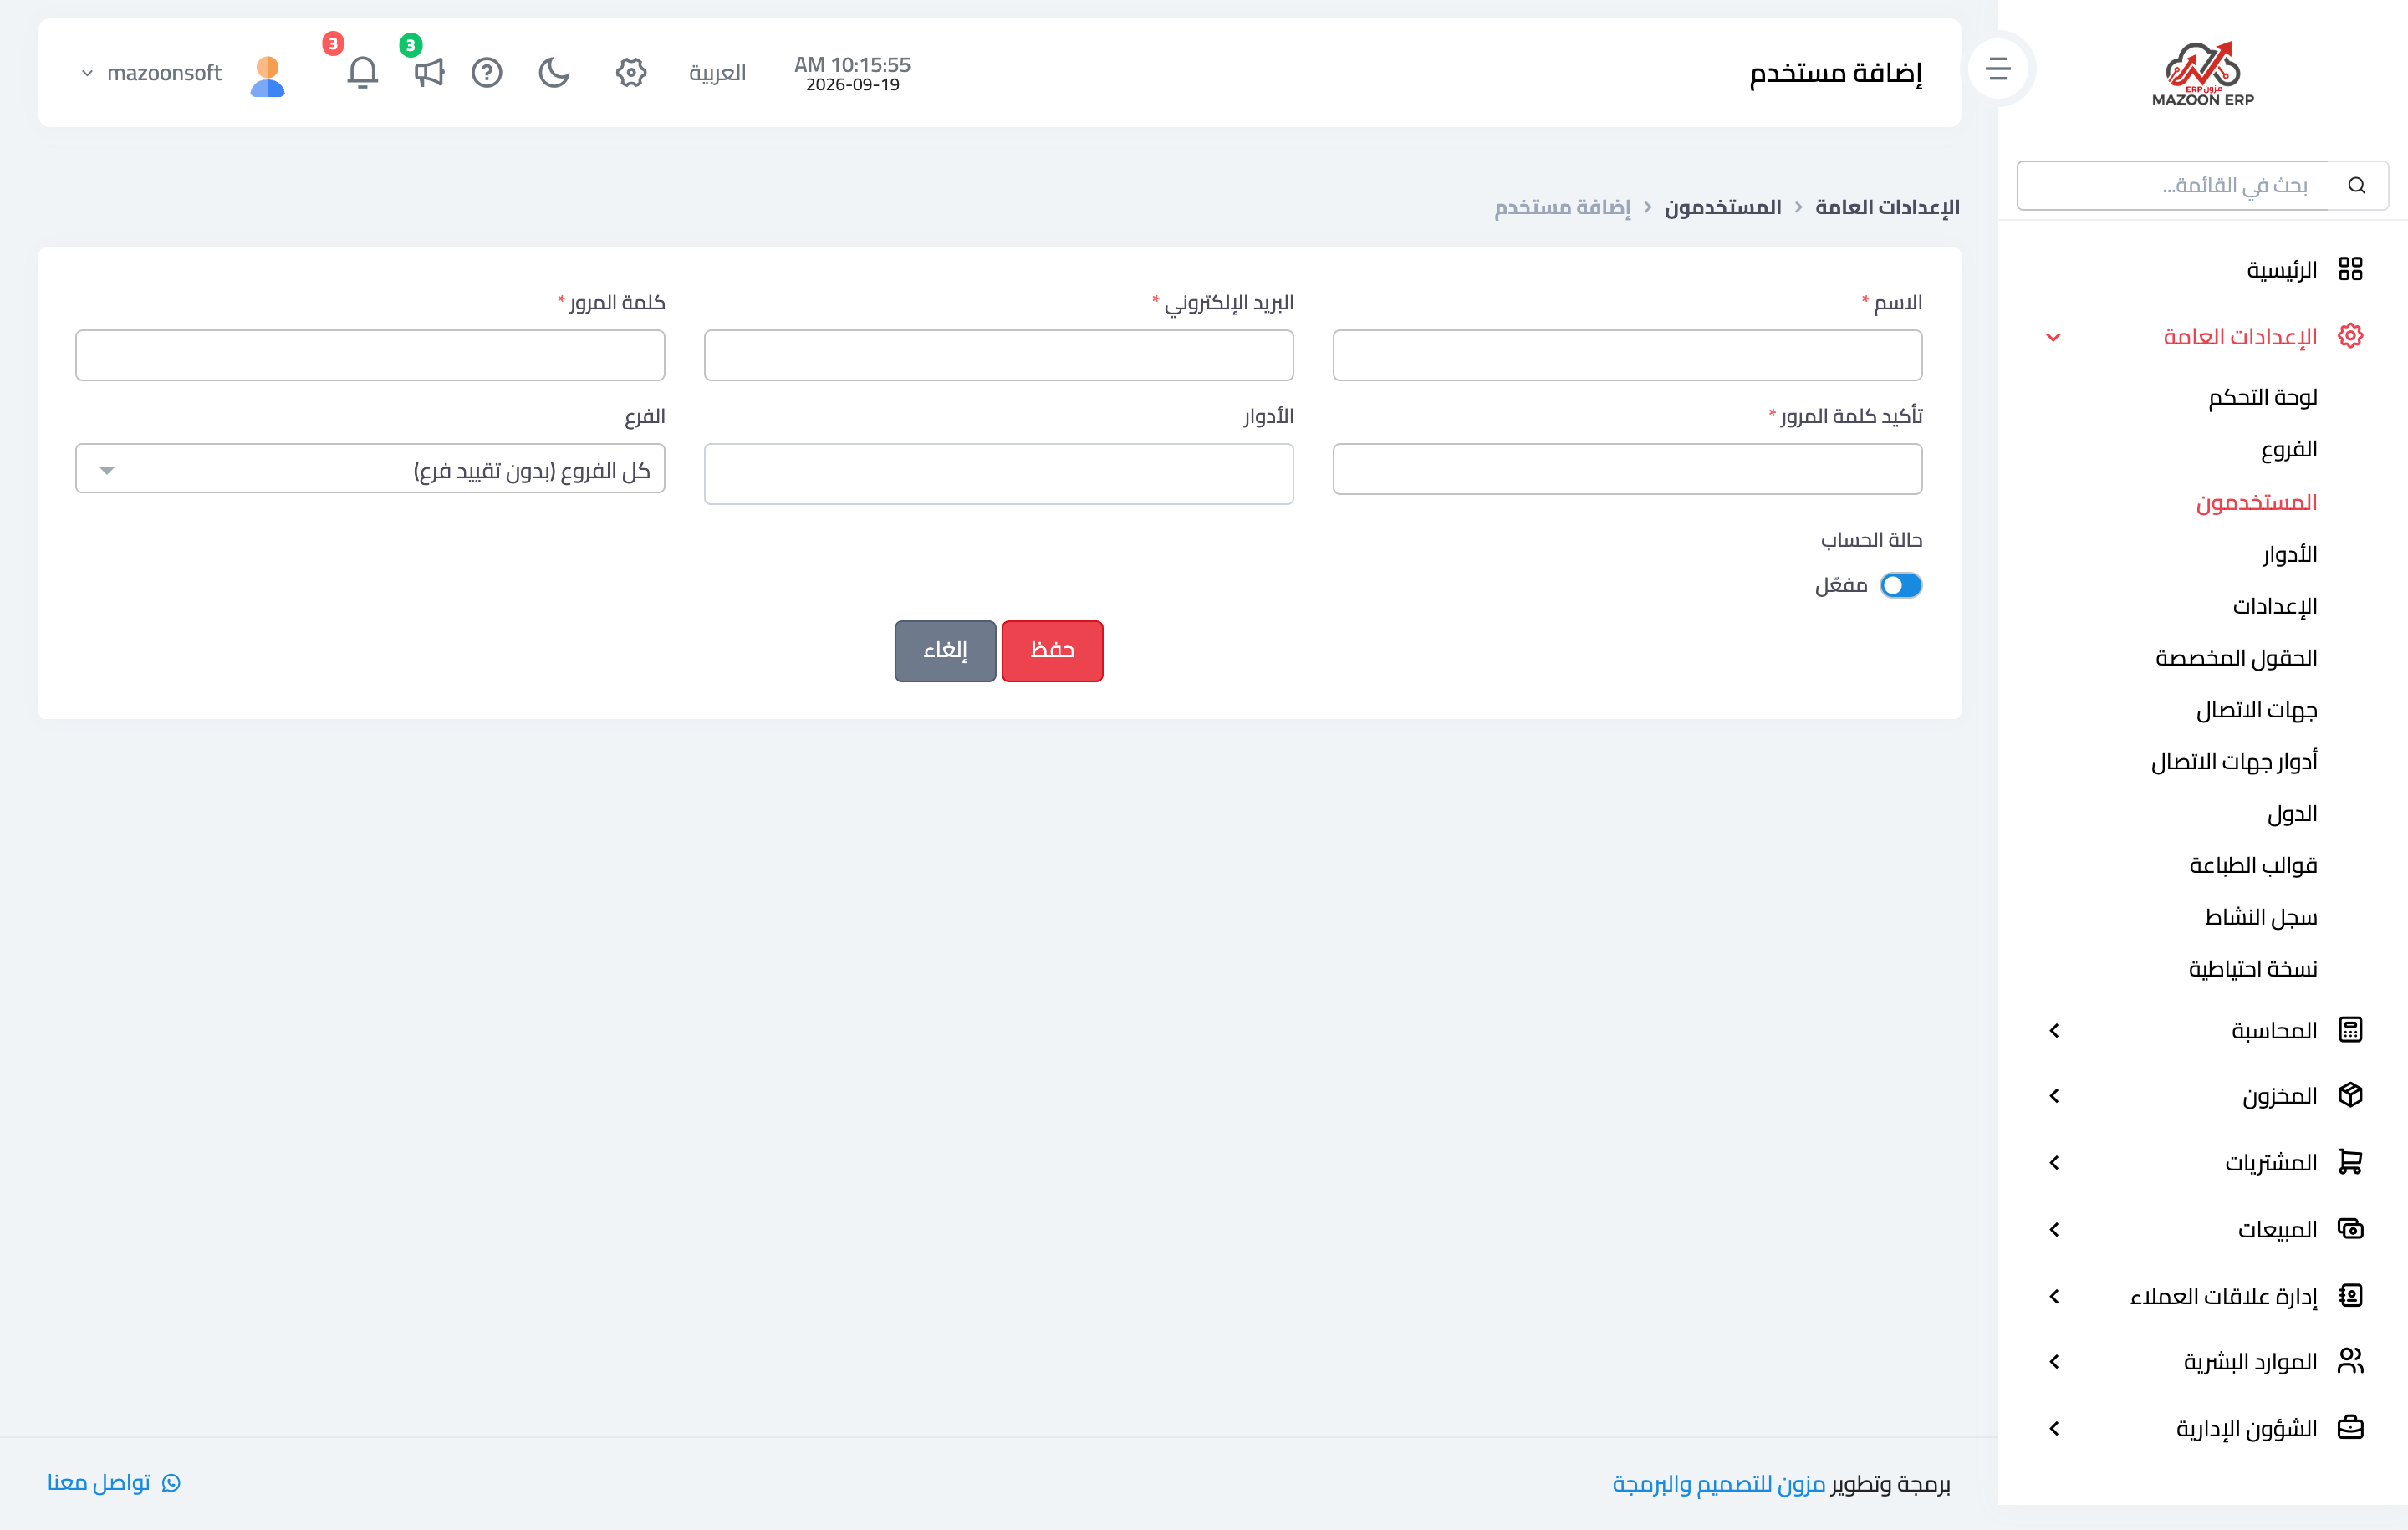
Figure 3
Try what you just read on your own data
Open a free 7-day trial — no credit card, with your own company link in minutes.